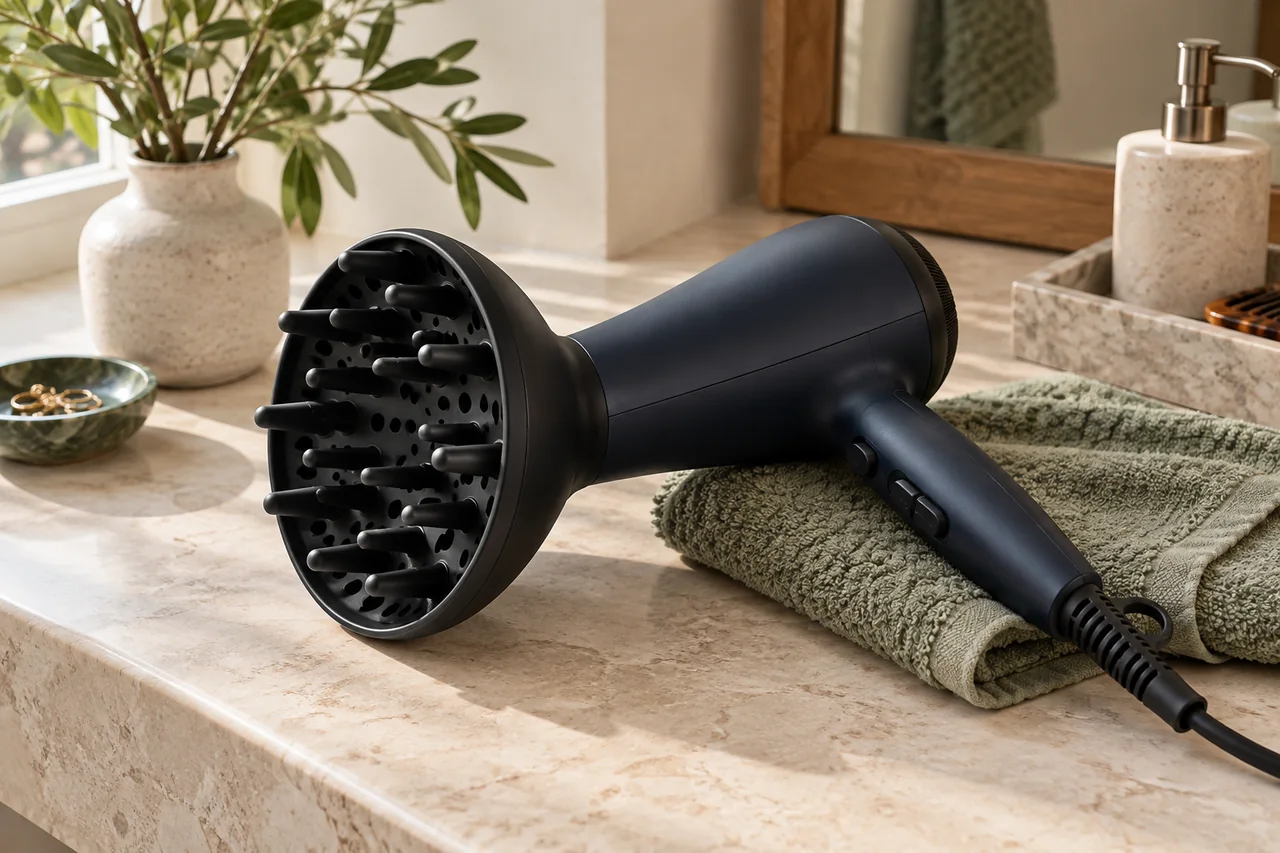
A diffuser is a drying attachment, not a guarantee of a particular curl pattern. The useful approach is one you can control comfortably and repeat.
Check the attachment and dryer together
Confirm that the diffuser is intended for your model and learn how it attaches. Check the bowl and prongs for damage or sharp edges, then read the specified settings and distances. A “universal” label does not settle compatibility on its own. Test the fit as instructed before styling. Keep the workspace dry and clear so you can put the appliance down safely and change sections without tangled cables.
Arrange the hair before drying
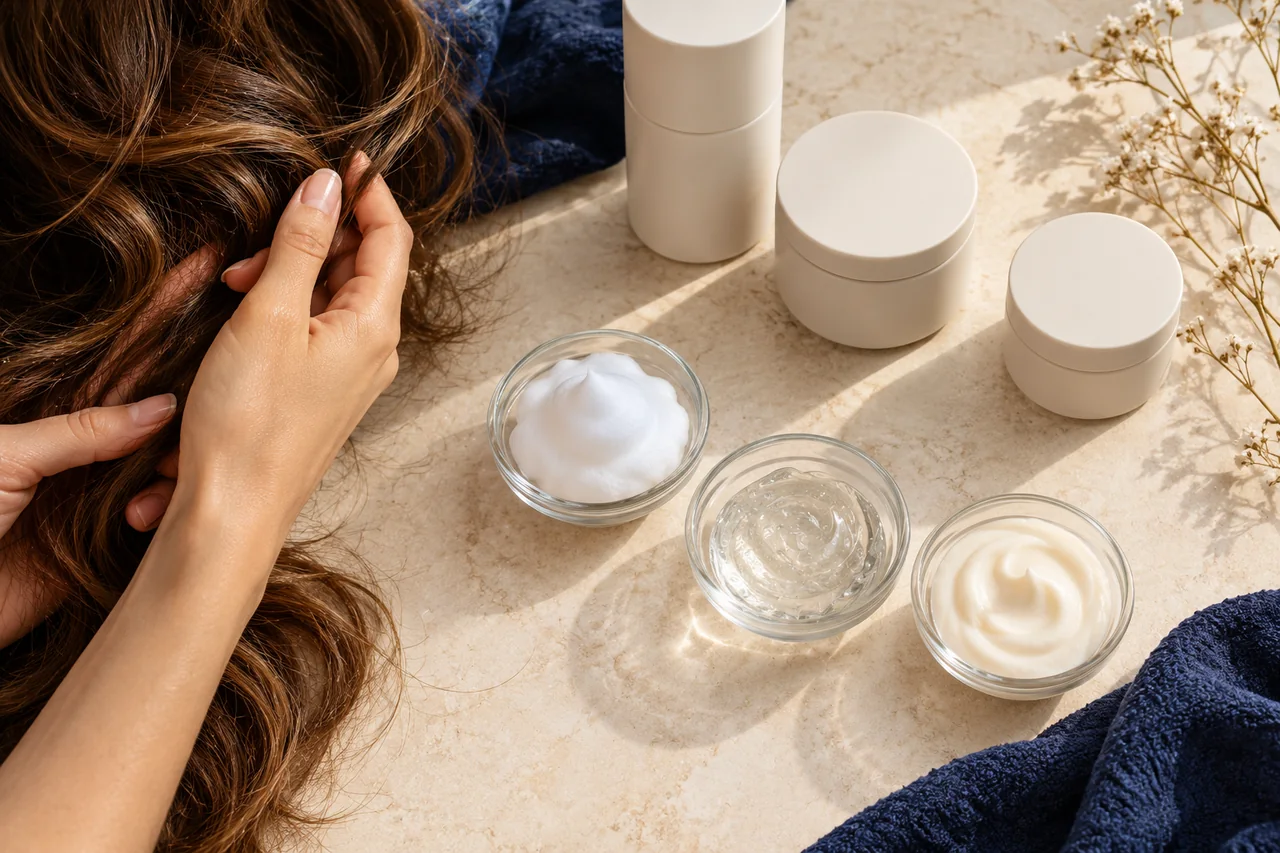
Detangle and condition in a way suited to your texture, set your parting and arrange the shape you want. Apply any holding product as directed in a small reproducible amount. For the first diffuser attempt, keep the rest of your routine familiar so you can judge the attachment itself. You do not need to make every strand form an identical group; natural variation can remain visible.
Start with limited movement
One possible starting method is to bring the attachment towards an area at an appropriate distance and work steadily. If your model allows hair to rest in its bowl, use a manageable amount and avoid pressing against the scalp. Switch or move the dryer as instructed when changing position. Keep hot parts away from skin and ears. The American Academy of Dermatology warning about excessive heat still applies: a diffuser does not make high heat harmless.
Check roots and lengths separately
The ends may dry before denser root areas. Check several places and target remaining damp zones rather than repeatedly drying the entire length. Divide an area more precisely if you can do so without pulling. If working upside down is uncomfortable, stay upright and adjust the angle. No particular posture is compulsory; safe handling and relaxed shoulders are more useful.
Change one variable when needed
If curl groups break up, first try less movement or lower airflow next time. If one area stays damp, review section size and access rather than immediately increasing temperature. Note which side you dry first and your head position. These details help you compare attempts more clearly than labels such as good or bad hair day.
- Hair moves excessively: reduce airflow or steady your handling.
- Scalp feels too hot: adjust distance and heat immediately.
- One area remains damp: improve access to that area.
- Holding the dryer is tiring: try a comfortable upright position.
Judge handling and the finished shape
Compare with a familiar drying method. Does the shape suit you, can you manage the process, and how much correction follows? Faster drying is not a benefit if it creates lengthy restyling. Keep preferred settings as a note for this specific appliance.
For example, use your normal product amount and prepared shape on one wash day. Note where repeated position changes are needed. Next time, try smaller sections with the same product and parting. Compare the fully dry shape, feel and effort. Keep the useful change; if handling stays uncomfortable, consider an easier upright method or another drying option.
Frequently asked questions
Will a diffuser turn straight hair into curls?
Not automatically. It is a drying attachment. Your starting texture and preparation affect the result, and no particular curl strength can be promised.
Must I diffuse upside down?
No. You can stay upright and reach sections from the side. Choose a safe, comfortable position in which you can control heat and movement.

Questions and experiences
Share a question or a useful experience about this topic. Every contribution is checked before publication. Comments may be written in different languages.
Loading reader contributions…
Opening the form sets a necessary session cookie. No email address is required. Publication is subject to moderation and is not guaranteed. For deletion requests: Contact