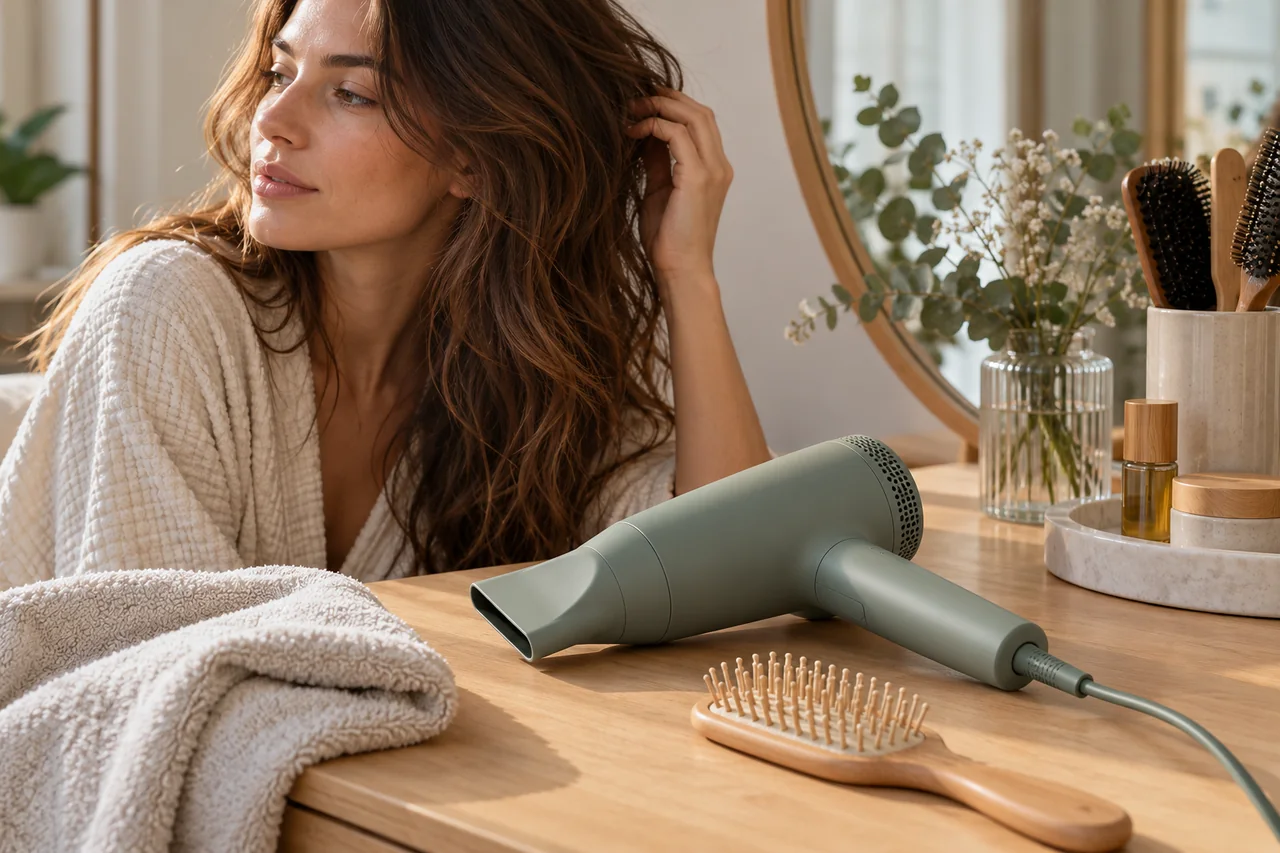
A controlled blow-dry starts before the appliance is switched on. Prepare the space and hair, then focus on the section that actually needs drying.
Check the appliance and workspace
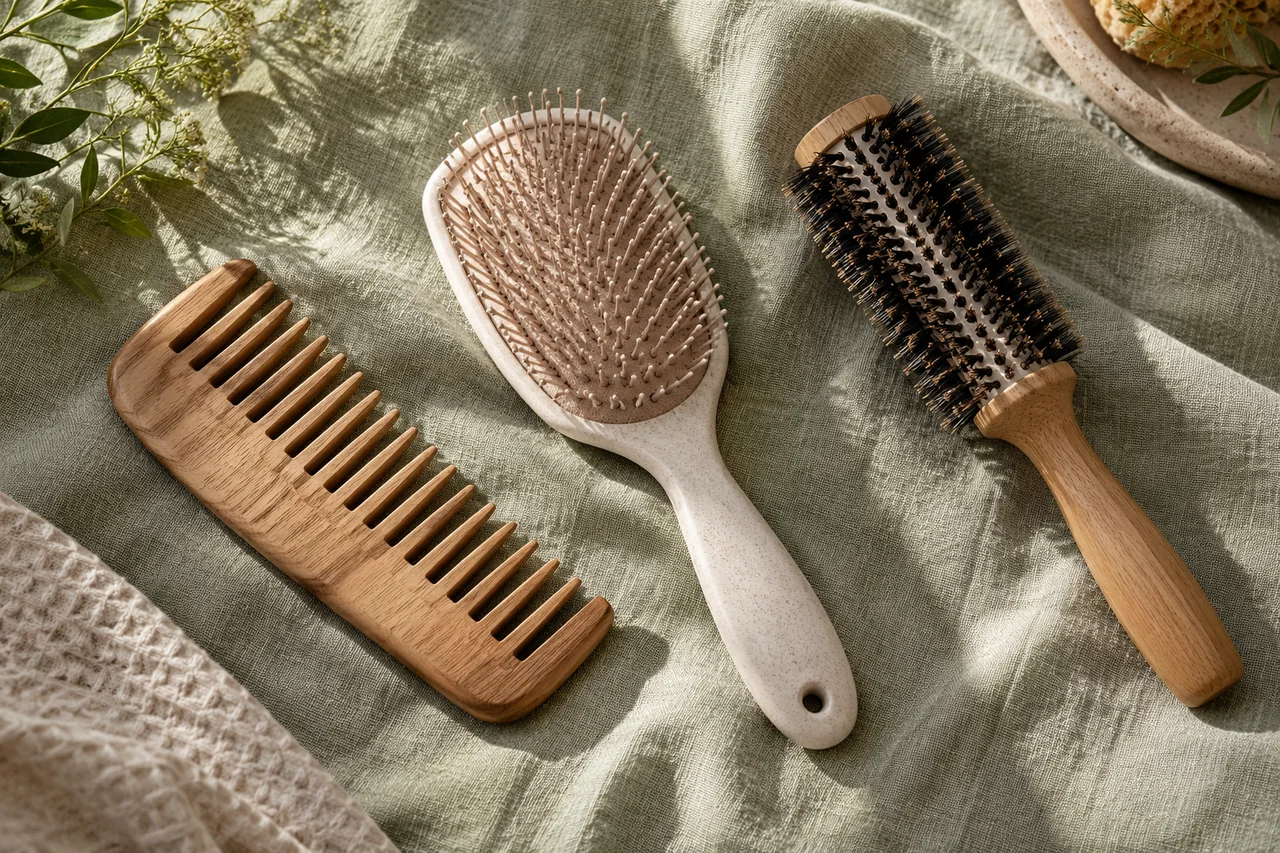
Read your dryer instructions for attachments, cleaning and safe operation. Use compatible accessories and an undamaged appliance; keep electrical equipment away from water and follow its safety guidance. Set out brushes and clips first, with the cable clear of your movements. Follow the manufacturer instructions when putting the dryer down or changing attachments, rather than searching for tools with it running.
Reduce the starting wetness
Press out excess water gently with a cloth. If it suits your hair and schedule, allow some air-drying first. The American Academy of Dermatology includes partial air-drying and less frequent blow-drying among ways to limit damage. There is no fixed waiting time for everyone. Detangle appropriately, set the parting and use any heat-protection product in the amount and hair condition its directions specify.
Work on manageable areas
Divide the hair into sections you can guide safely with fingers or a brush, securing the rest loosely. Start where you can see and reach easily. Direct the air towards the section being dried and move the dryer steadily. Do not let hot parts touch the hair. A universal distance in centimetres cannot replace your appliance instructions. If your scalp feels uncomfortably hot, move farther away and lower the heat setting instead of trying to finish the spot quickly. If the airflow tangles the hair or scatters the section, pause and use calmer, more controlled airflow and sectioning before continuing.
Refine the shape after initial drying
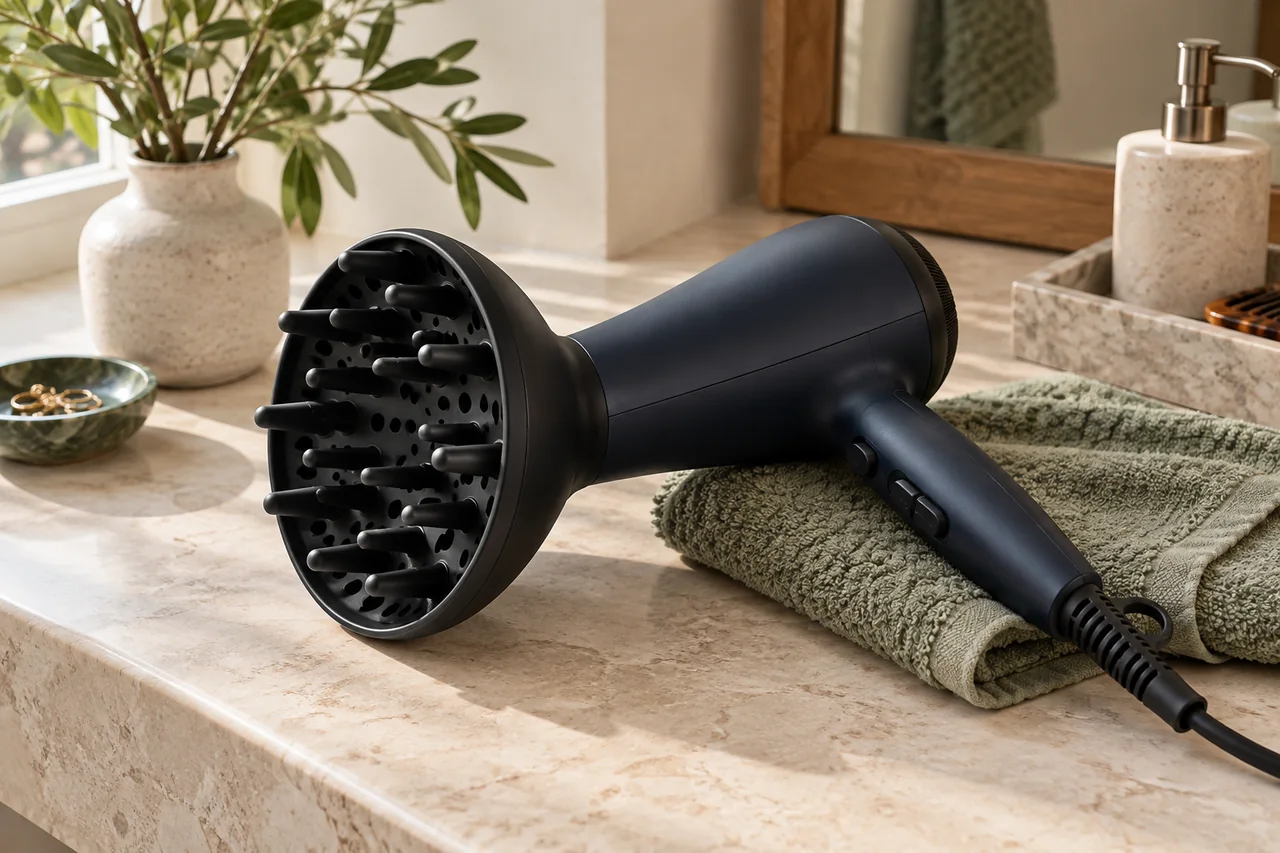
Once a section is no longer very wet, guide it towards your intended shape. A simple brush movement may be enough for a smooth fall; a bend at the ends needs attention there. Do not automatically rework the full length if only the front needs adjusting. A suitable diffuser offers another approach for waves or curls, but controlled airflow and comfortable heat still matter.
Limit repeated passes
The AAD warns against excessive styling heat. If one strand needs repeated drying, check section size, starting moisture and whether the technique suits the shape you want. More products are not automatically the answer. Make a note of the area that regularly takes time so you can discuss a specific difficulty at the salon.
- One area stays wet: try a smaller section.
- Heat feels uncomfortable: increase distance and reduce the setting.
- Ends need repeated work: review the technique and desired shape.
- Hair becomes disorganised: steady the airflow and sectioning.
Keep a useful sequence
After a successful attempt, note preparation, sectioning, attachment, setting and finish. These details belong to that appliance; check instructions again for another model. Compare one change next time, such as smaller sections rather than more heat. A simpler finish can be enough on a busy day.
For example, divide a dense section at the back into two smaller areas while leaving the rest of the routine unchanged. Pause the dryer safely and check which area remains damp rather than repeatedly warming the whole back. Changing the brush, product and temperature at the same time would make the result harder to interpret.
Frequently asked questions
Should I always use the strongest airflow?
No. Choose a setting that lets you control the section, following the instructions. Strong airflow may disturb a shape you have already arranged.
Do I always need straighteners afterwards?
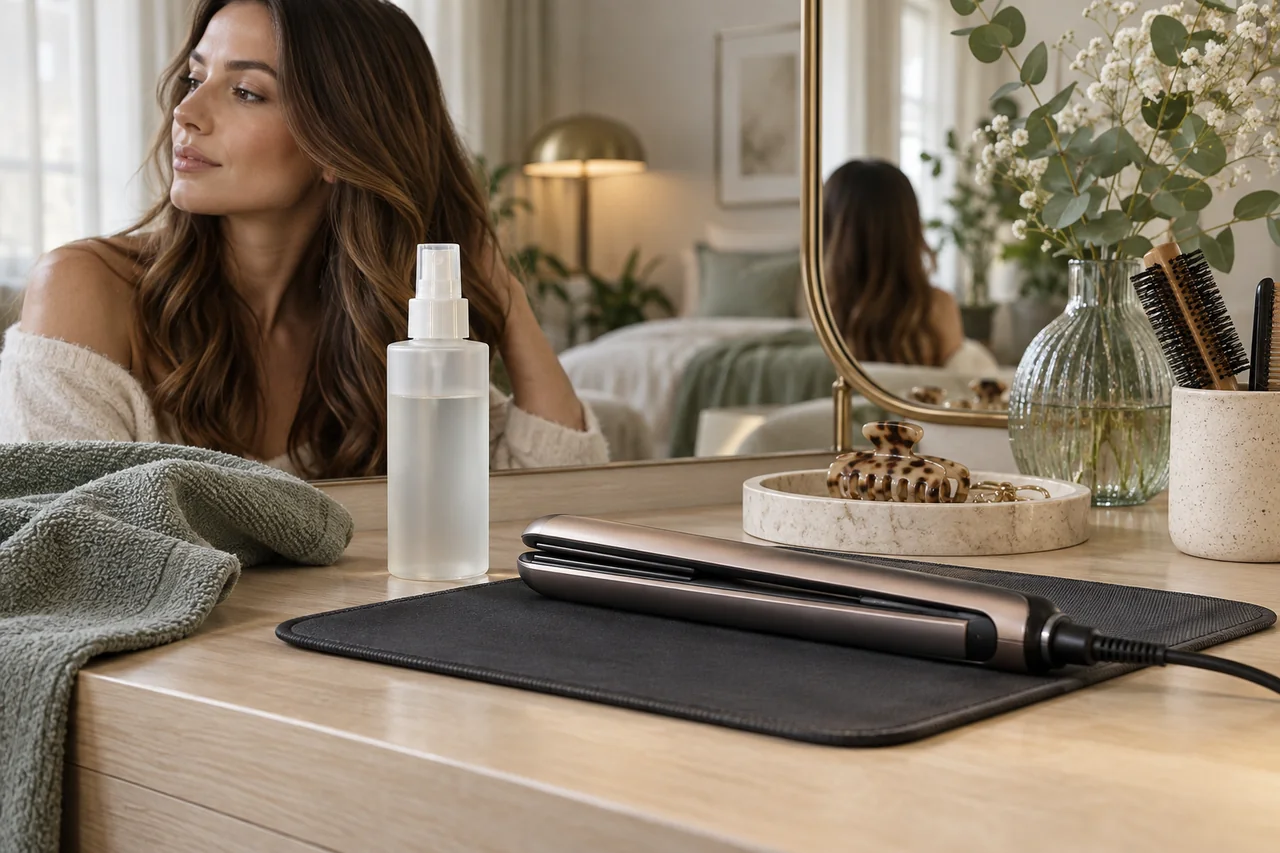
No. Straighteners are a separate tool for a separate task. Check whether the blow-dried result already meets your goal before adding another heat step.
Questions and experiences
Share a question or a useful experience about this topic. Every contribution is checked before publication. Comments may be written in different languages.
Loading reader contributions…
Opening the form sets a necessary session cookie. No email address is required. Publication is subject to moderation and is not guaranteed. For deletion requests: Contact