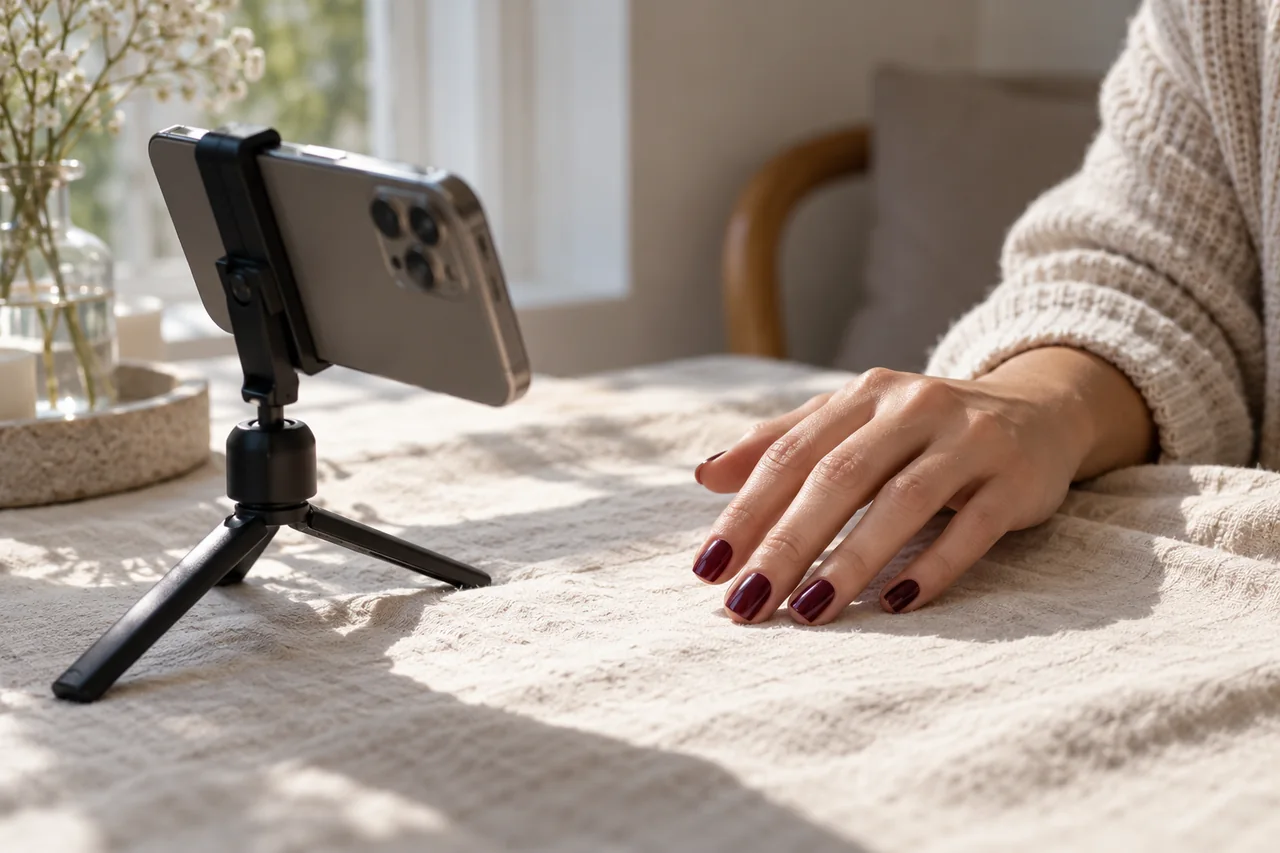
A useful manicure photograph shows enough shape and detail to recognise a look or discuss it at the salon. Your own images also offer an alternative to republishing someone else’s inspiration photograph. A phone picture is not an exact colour measurement.
Choose what the image needs to explain
An overall colour reference differs from a detail showing tip width or accent placement. Photograph relaxed fingers for the whole look and add a close view for a specific feature. An extreme close-up alone can distort proportion. Keep the overall view, detail and a short note together rather than guessing from the image later.
Find consistent light
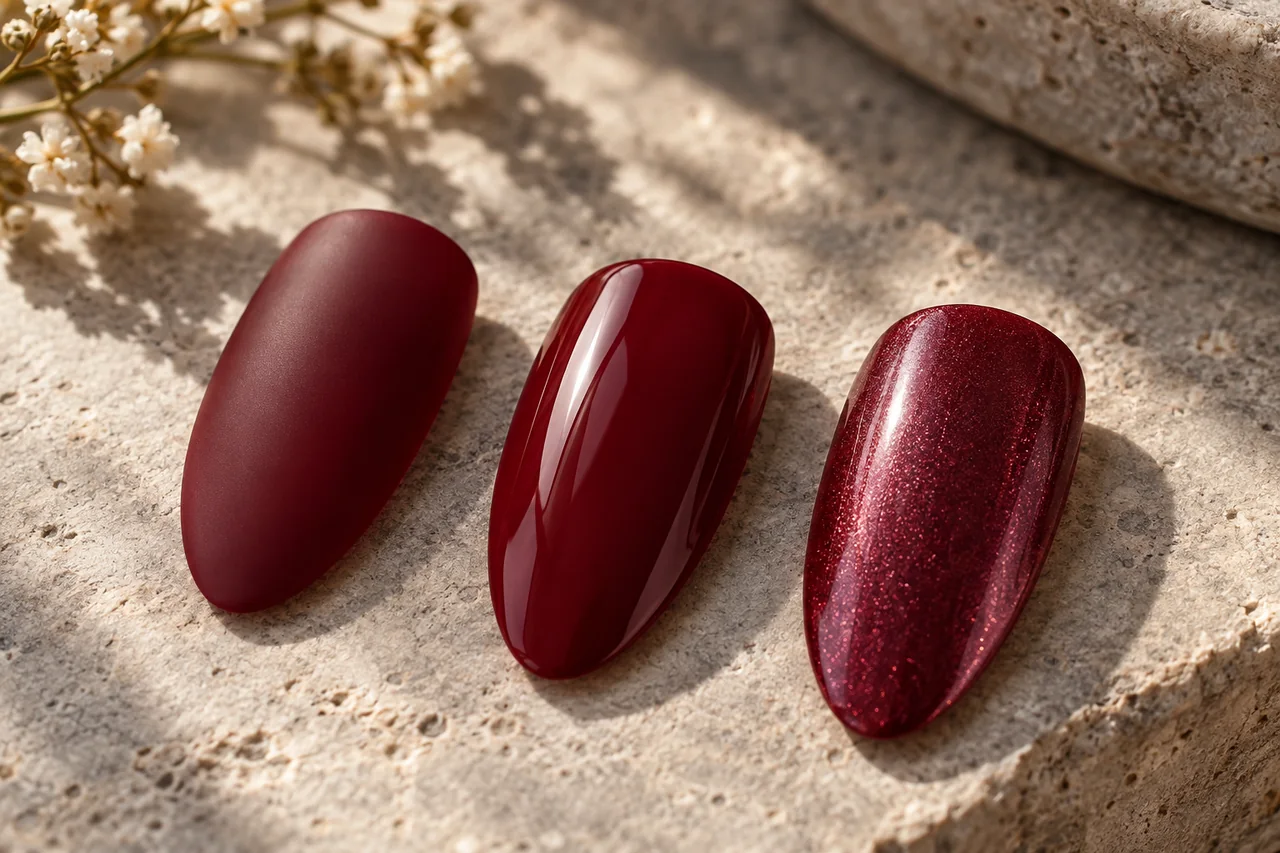
Begin near a window without harsh direct sun, while recognising that this does not guarantee neutral colour. Avoid mixed-colour room lighting if possible or use one consistent source. Rotate the hand until reflections no longer hide important details. Gloss should remain visible without becoming an entirely white patch. A second slightly angled view can show shimmer without adding an artificial effect.
Simplify the background and pose
Choose a quiet matte background distinguishable from the polish. Rest the hand comfortably; tense poses are unnecessary. Remove accidental keys, letters or labelled packaging. Jewellery can be part of the design, but another view without reflective accessories helps pure colour comparison. Keep the relevant nails visible rather than hidden behind fingers.
Check distance and focus
Clean the lens according to device guidance and steady the phone. Use the camera app’s focus control where appropriate. Do not move so close that it cannot focus; include more space and crop moderately later. Check ordinary-size and enlarged views for sharp edges, important details and lost highlights. Retake a failed image rather than disguising it with strong sharpening.
Keep editing understandable
Cropping or slight straightening can clarify an image. Filters that change skin, shape or colour undermine documentation. Preserve the original separately from creative edits, and disclose substantial alterations if publishing rather than suggesting an unchanged result. Even an unedited phone image depends on light, settings and screens. Use it as orientation and a real salon sample for an important colour decision.
Check privacy and build your own references
Inspect backgrounds and reflections for letters, names, screens and other private details. Check captions and device sharing settings for location data; do not assume every platform removes it. Ask before publishing recognisable other people or their hands. A tighter composition can exclude unnecessary people and private spaces.
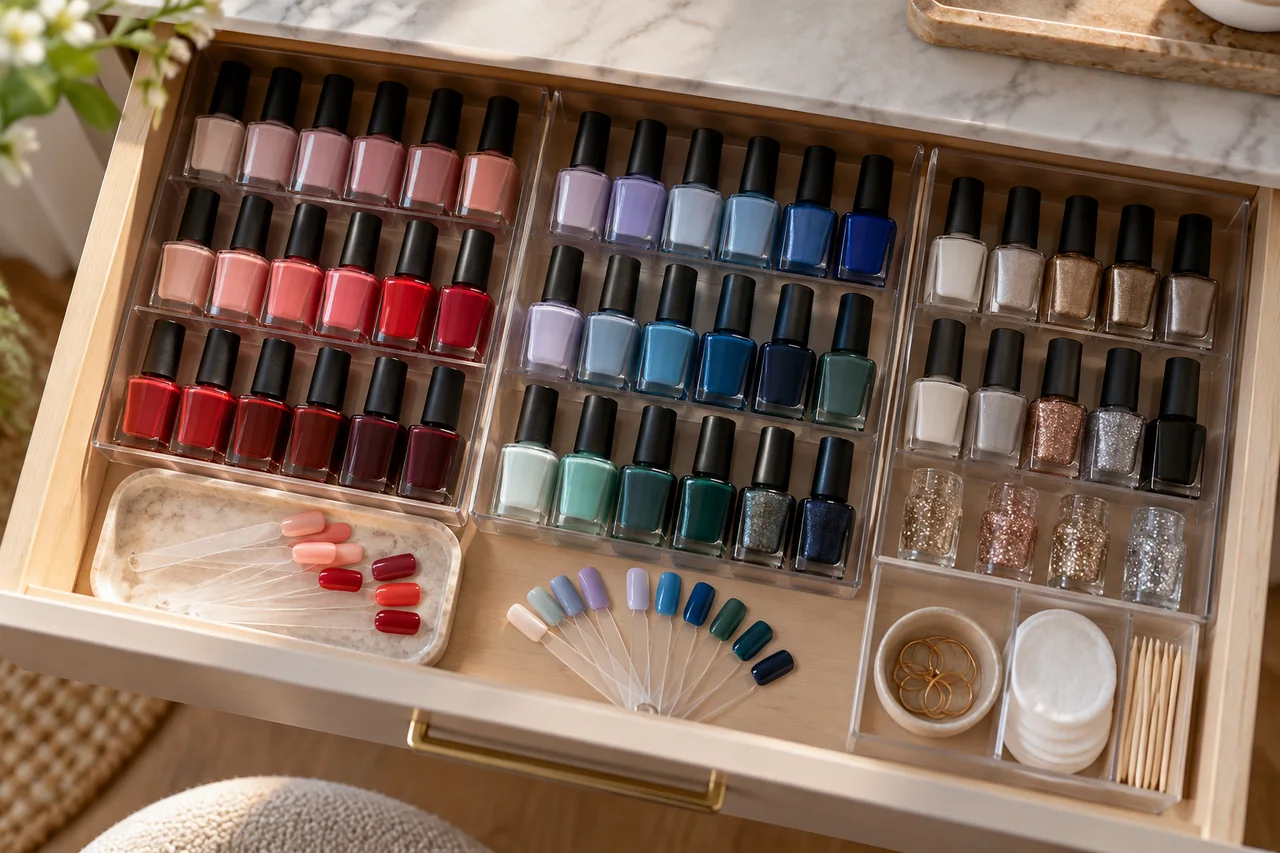
Use descriptive filenames with date, base colour and a feature. Keep originals, selected views and notes together; one overall view and two useful details often suffice. Repeat angles when comparing looks. Do not claim that separate photographs prove a product effect or medical change: this is personal design documentation, not a controlled study.
Frequently asked questions
Do I need a ring light or specialist camera?
For simple documentation, start with your phone and a steady lighting situation. Buy equipment only when you can describe a specific problem it would solve.
Can I post an inspiration image as my own result?
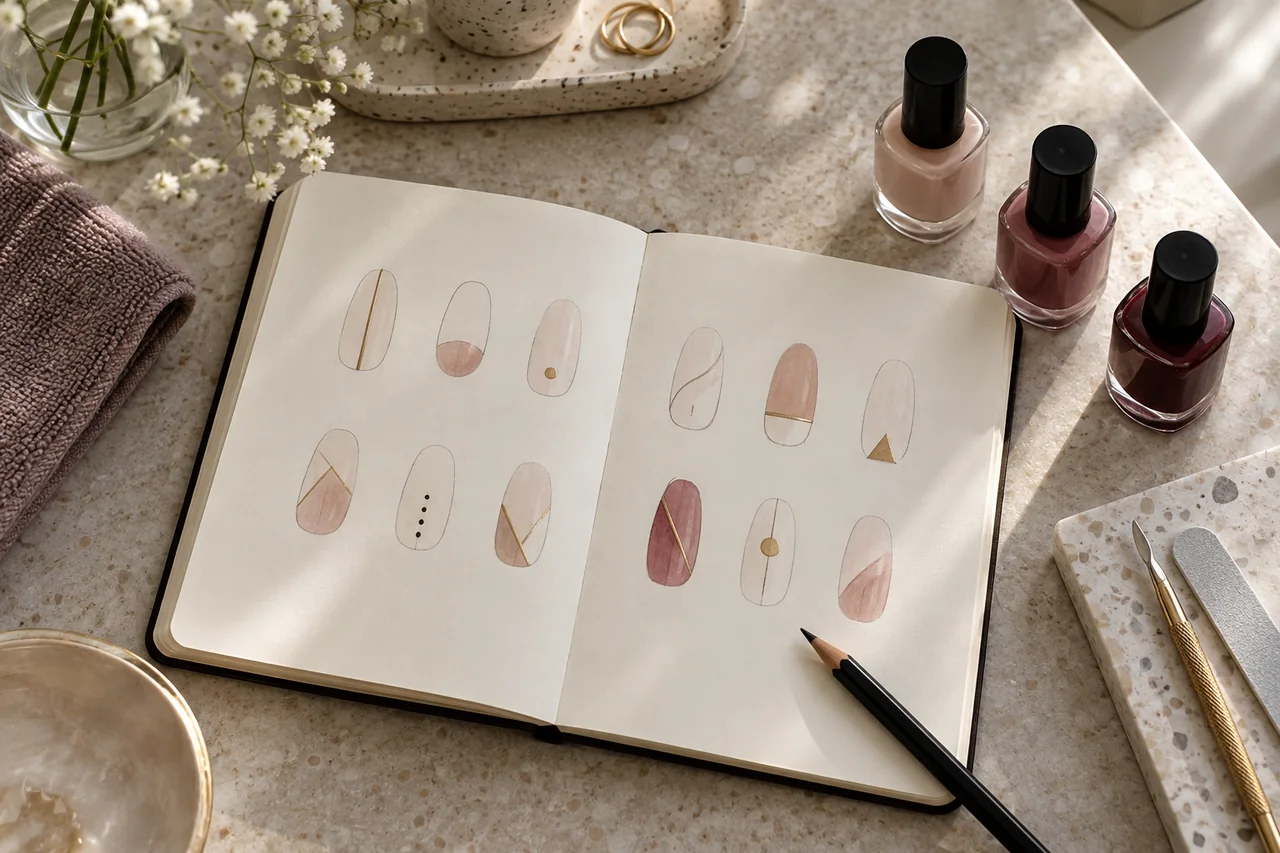
Do not present someone else’s result as yours. Use your own photographs or sketches. Obtain the necessary usage rights before publishing another person’s image.
Questions and experiences
Share a question or a useful experience about this topic. Every contribution is checked before publication. Comments may be written in different languages.
Loading reader contributions…
Opening the form sets a necessary session cookie. No email address is required. Publication is subject to moderation and is not guaranteed. For deletion requests: Contact