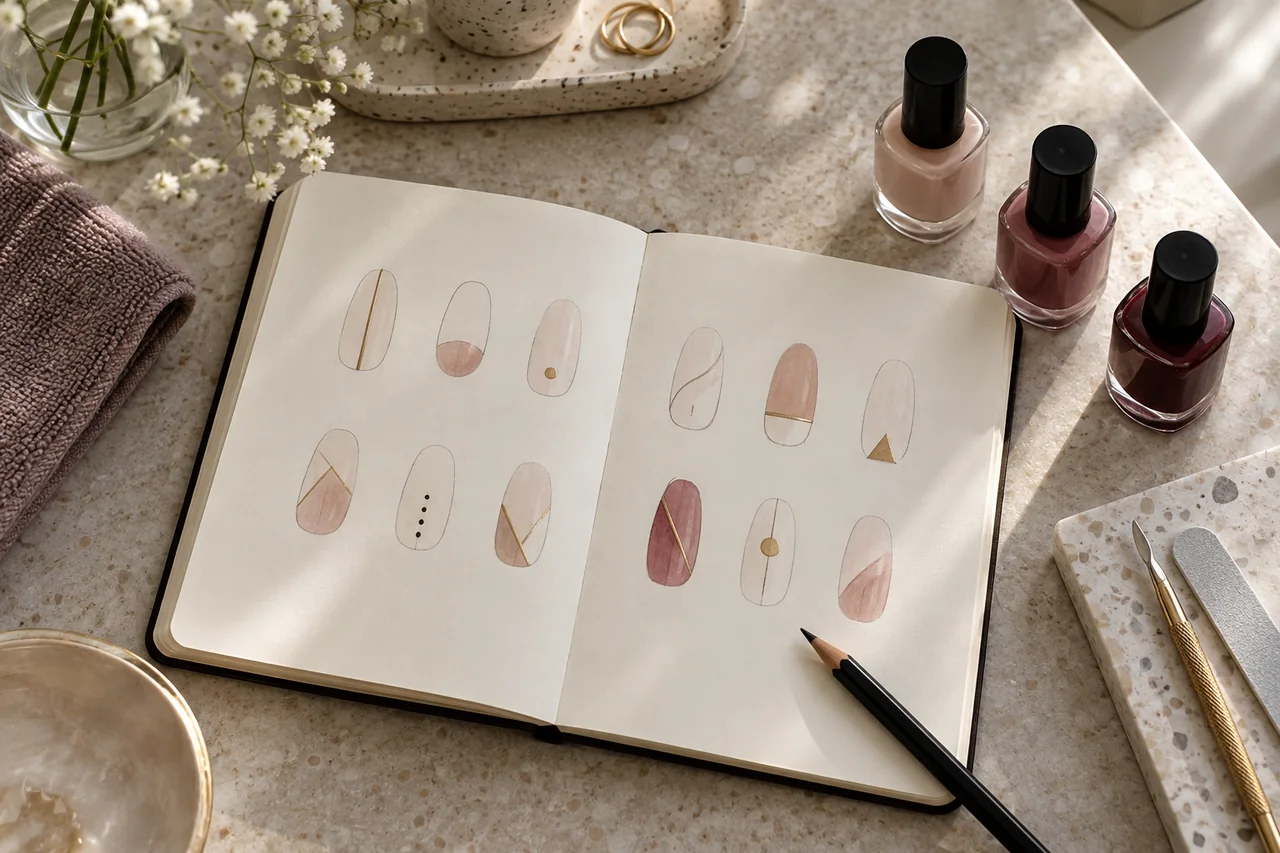
You do not need every technical term to explain a nail look. A simple sketch and a few precise sentences can make the idea discussable without promising that every photographed effect fits every nail.
Describe visible effects in ordinary language
Start with words such as calm, graphic, sheer, contrasting or festive, plus a real activity or outfit. “Subtle but special” becomes clearer as “a sheer base with a thin dark tip and no raised decoration”. Avoid naming a product system before discussing which technique can achieve the goal within the appointment.
Set length and outline first
Describe the free edge and contour separately, showing on your own nails what short means. “Fairly straight at the front, with soft corners” is clear even without a trend name. A long almond reference has more design space than short natural nails. Ask which features can be adapted while remaining readable instead of assuming an extension is required.
Separate shade, opacity and finish
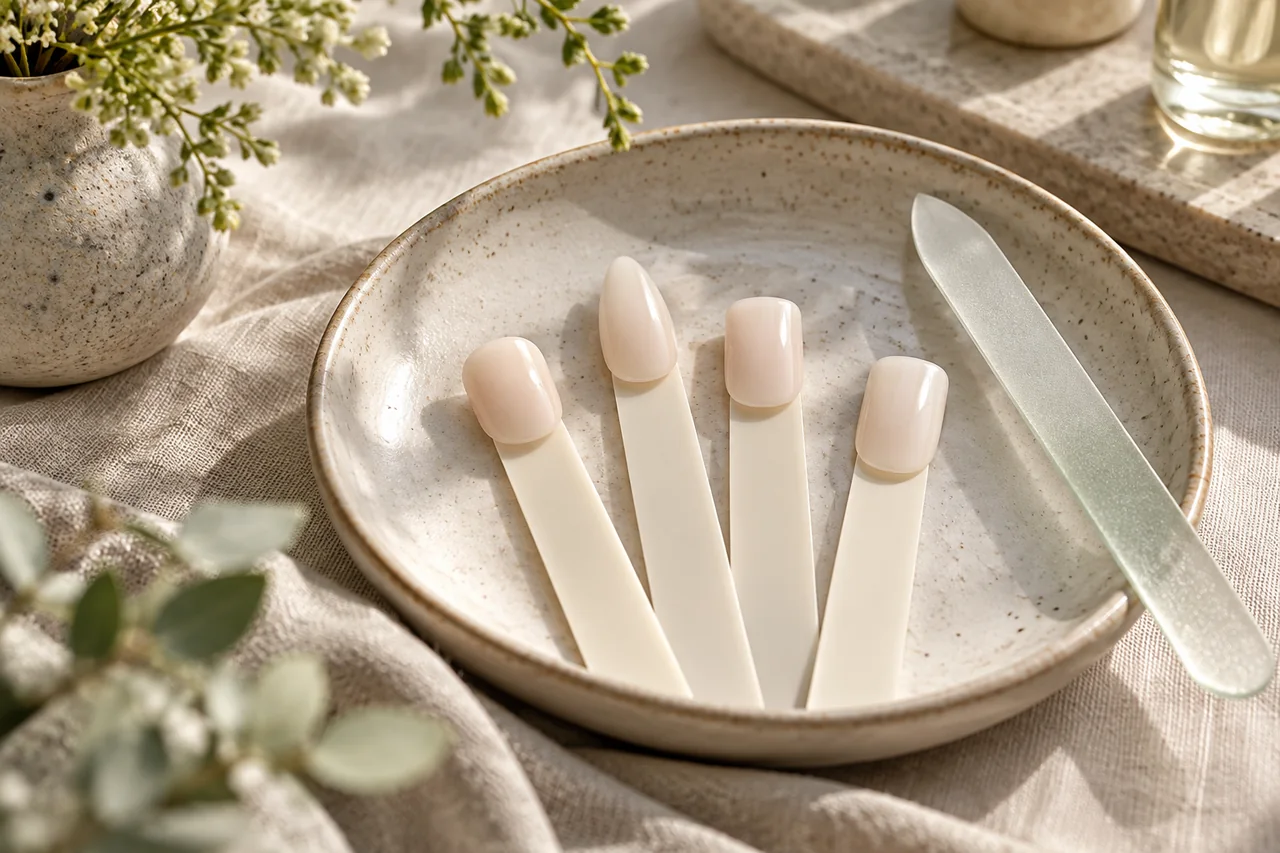
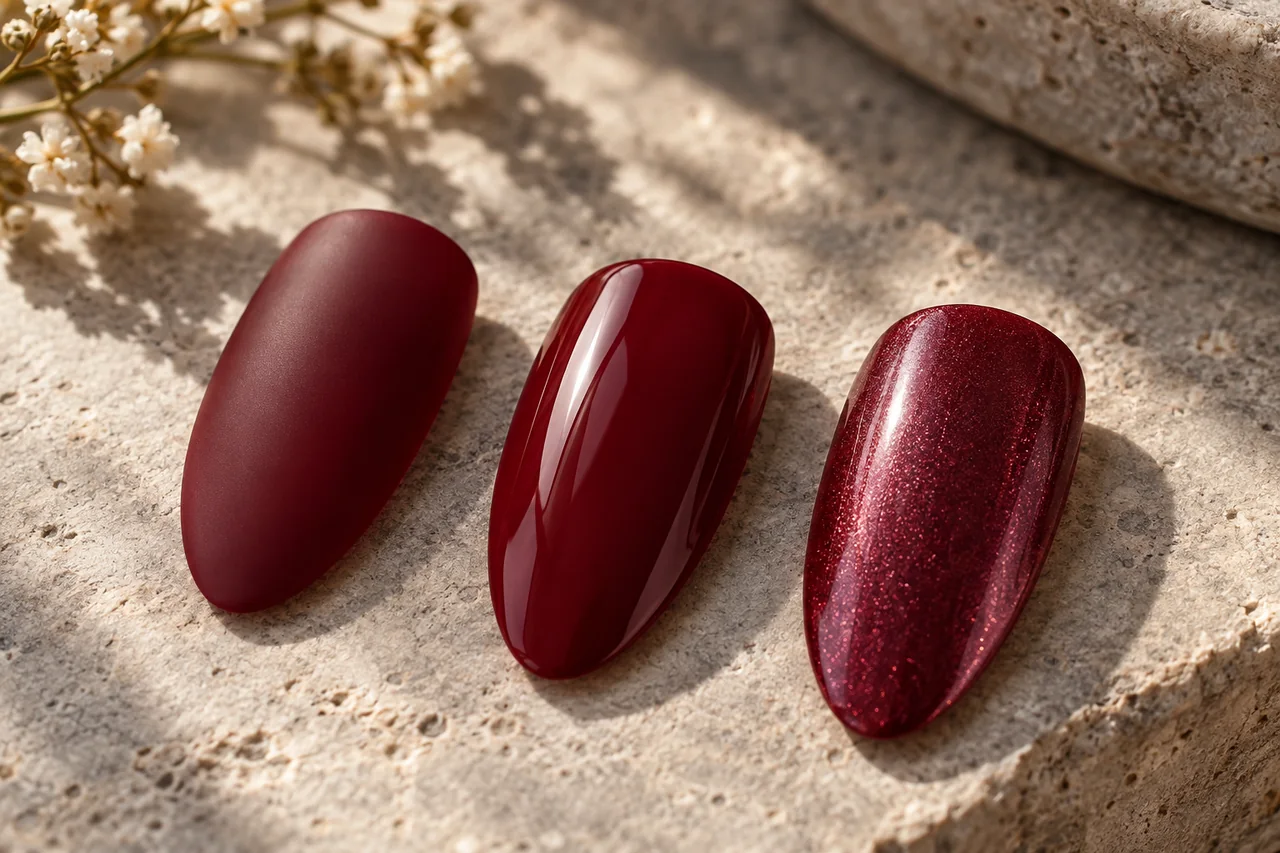
Pink can be sheer, milky or opaque, with gloss, matte or shimmer. Ask for samples in the same light and explain whether the natural nail should remain visible. Distinguish prominent sparkle from a fine light effect. Choose the base before the accent. Screen images are orientation, not binding colour charts; use a physical sample when an exact shade matters.
Identify the main feature
Mark one feature as the priority, with other details important, optional or omitted. This helps adapt to space, time and budget. Sketch ten simple outlines and place the accents on the intended fingers. For example: short softly square shape; milky translucent base; thin dark tip as the main feature; an optional ring-finger dot; no extensions or raised pieces. The sketch need not be artistic, only clear.
Use references honestly
For public inspiration, keep the link to the original and name the feature you like. You need not republish the image. Use your own sketch or manicure photograph for private records, and never present someone else’s result as yours or the salon’s. Light, distance and editing affect references, so request an interpretation for your nails rather than an identical image under every condition.
Agree a checkpoint and preserve the result
Review the brief, process, time and complete price before starting. Ask what sample or design preview is possible and when shape and the main detail will be checked. Specific feedback such as thinner line, sheerer base or a more central dot helps more than “make it nicer”. Agree extra work and cost before changes.
Photograph the completed result consistently and record shade or product details where available, outline and length. After ordinary activities, note specific desired changes. This becomes your own reusable reference while leaving room to change one feature next time.
Frequently asked questions
Must I know terms such as micro French or glazed?
No. Explain visible shape, colour, opacity and detail size. Trend names can indicate direction but are not understood identically everywhere. A sample and your own words are clearer.
What if the reference does not work at my length?
Ask for a simpler design retaining the main feature, such as a finer line, fewer dots or one accent. An extension need not follow automatically.
Questions and experiences
Share a question or a useful experience about this topic. Every contribution is checked before publication. Comments may be written in different languages.
Loading reader contributions…
Opening the form sets a necessary session cookie. No email address is required. Publication is subject to moderation and is not guaranteed. For deletion requests: Contact