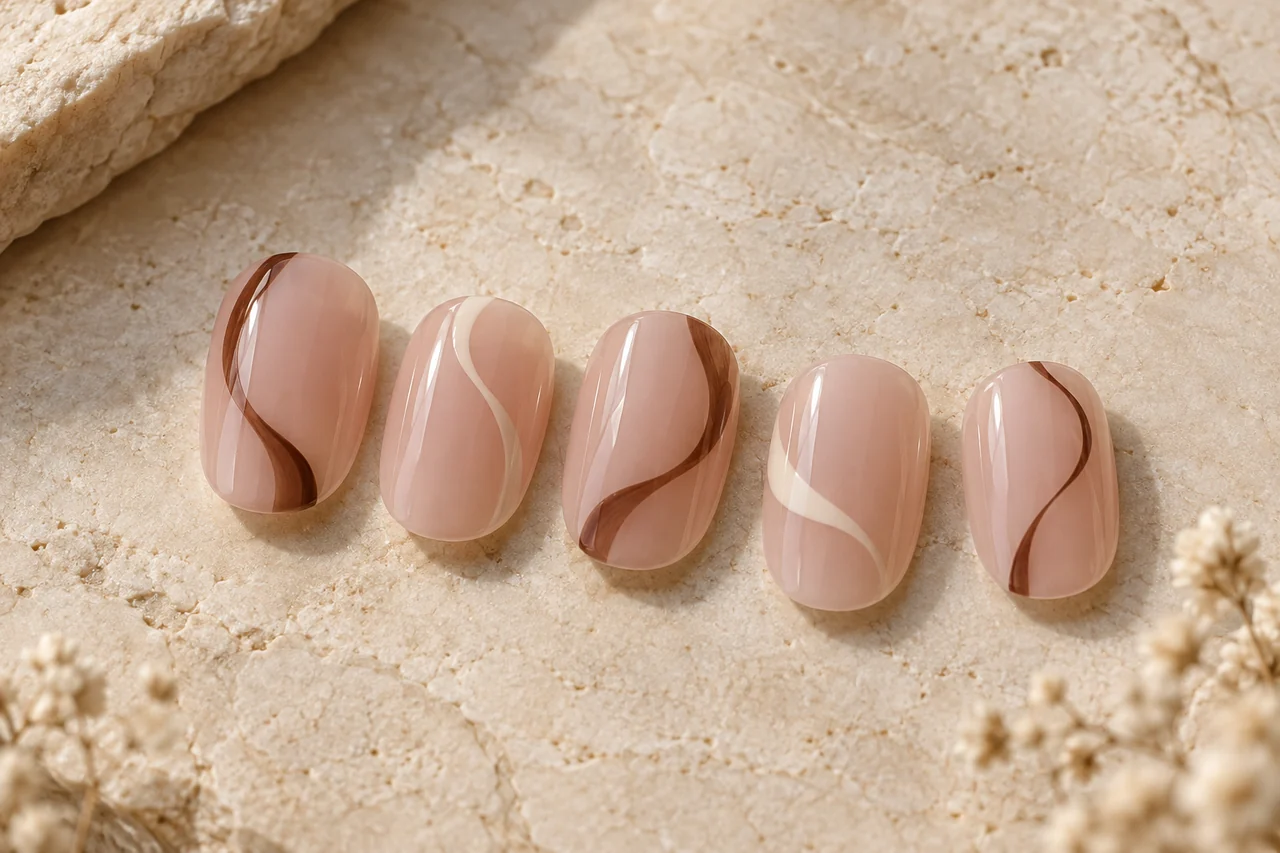
One open curve can give a nail design movement without filling the whole surface. Build the idea through direction, spacing and a limited number of lines rather than assuming it needs long nails or many colours.
Find a movement on paper
Draw calm S-shaped or arc-like lines outside a nail outline first. Choose one you can repeat without many corrections, then place a nail outline around a section of it. This builds a continuous movement rather than joining short strokes afterwards. Geometric perfection is unnecessary, but a clear underlying curve avoids inventing a completely new direction every time.
Choose the endpoints
A line may enter at one edge and exit another, or sit as a short mark in the middle. Compare both with the same colour and similar width. A continuous line uses the whole surface; a short curve gives a local accent. Check whether the ending feels deliberate or accidentally cut off. Simplify, shorten or carry it beyond the visible edge before adding companion lines.
Add width and spacing gradually
Once one curve works, add a second with a visible gap and similar width. Decide whether they run parallel or approach deliberately. Small gaps may disappear at ordinary distance. Keep that density only if intended; leave more room for openness. Then compare thin and broader versions, recognising that a broad curved area becomes a stronger graphic shape.
Connect the hand through related curves
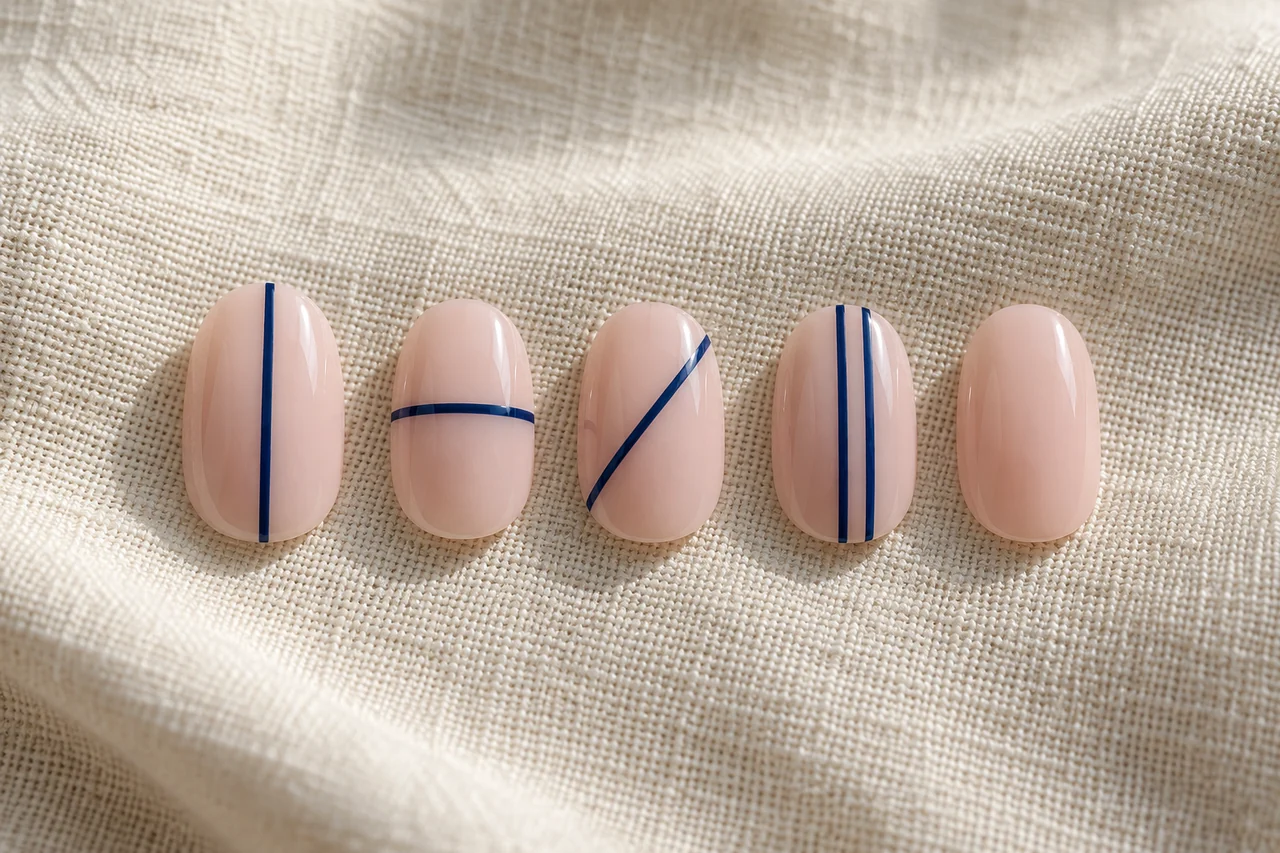
Each nail need not show the same section. A longer thumb curve and shorter little-finger version can connect through colour or bend. Sketch five outlines, adding lines to three first, and decide whether plain companions provide useful calm. Choose between one open curve, two related lines or a few accent nails before adding multiple colours and new motifs.
Choose contrast and an achievable version
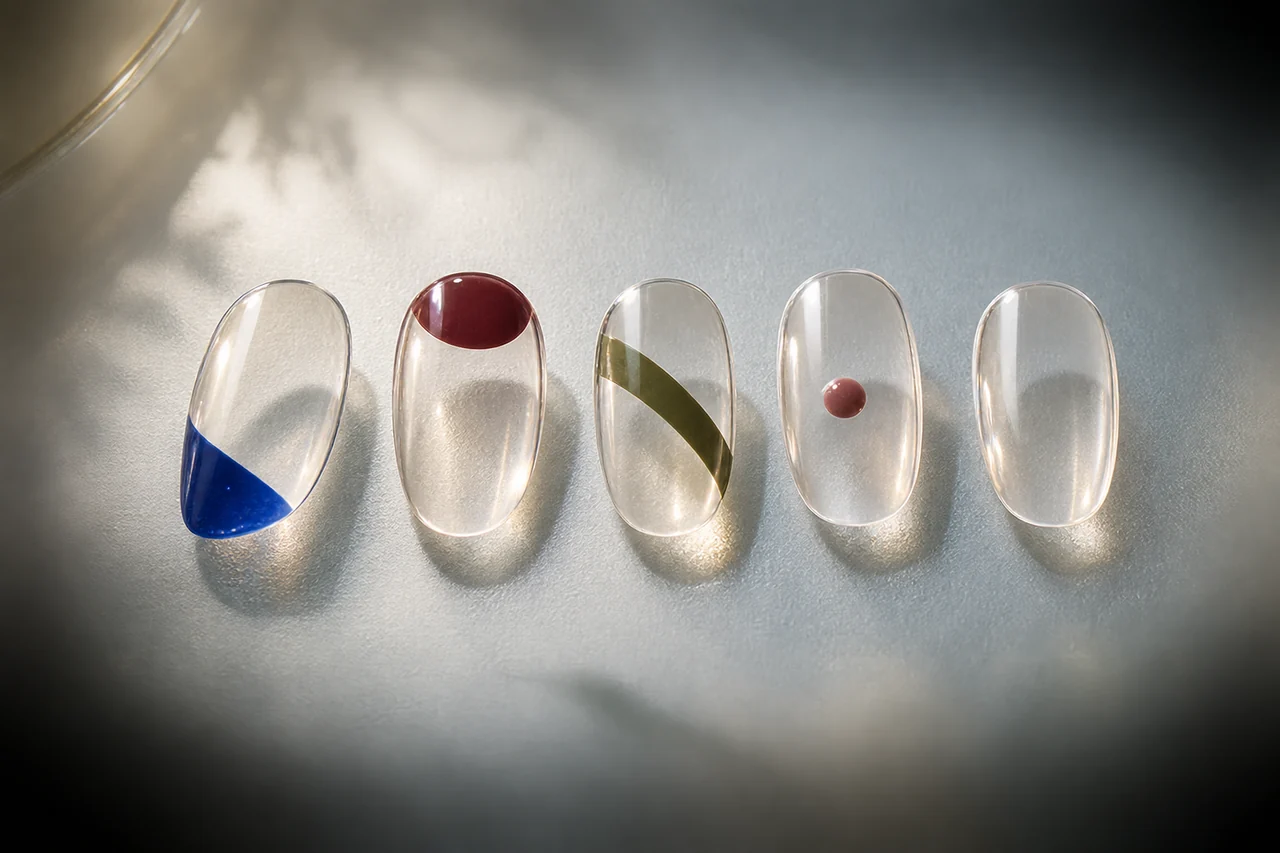
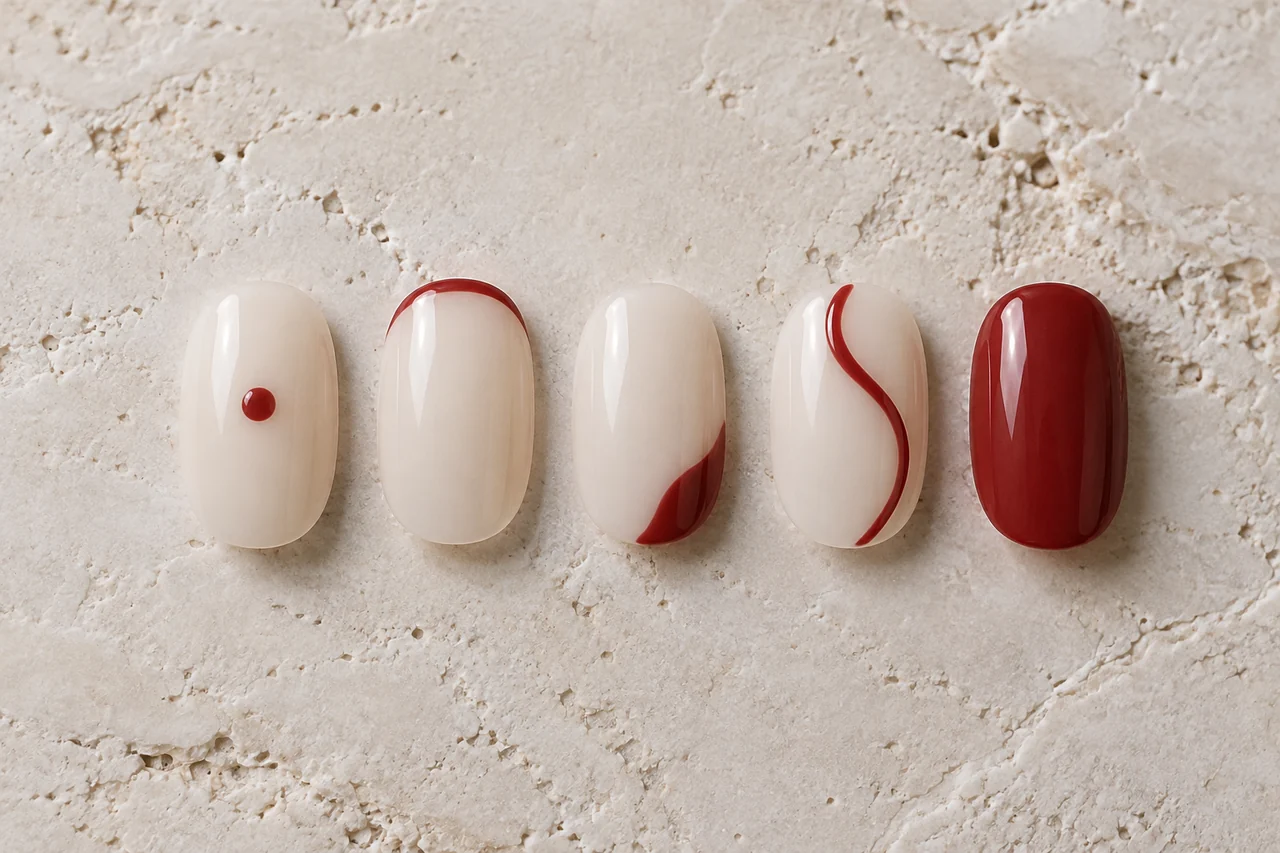
A dark curve on a light or sheer base reads more clearly than close rose tones. Compare the same drawing in two colour pairs to learn whether you want another curve or simply another contrast. One line colour can suffice.
For home practice, use suitable ordinary polish and tools according to instructions on a sample. One slightly broader curve or one accent nail is a complete solution if several fine lines are difficult. At a salon, explain which open areas matter and agree time and price before expanding the design.
Assess the movement as a whole
View relaxed hands and move them slowly. Notice whether curves connect across different nail areas and whether density suits you. A close photograph magnifies small deviations; ordinary viewing shows the overall movement. Record whether fewer lines, softer contrast or another position would improve the next version. Keep a curve you like and develop it through small changes.
Frequently asked questions
Do swirl nails need several colours?
No. One line colour on a sheer or opaque base is enough. Colour and curve shape can be compared separately.
Can curved lines work on short nails?
Yes, with a suitably simplified section and enough open space. Many small loops are not required.
How can I request a calm swirl look?
Specify line count, approximate width and the open areas. An original sketch with one or two curves makes the request for lower density concrete.
Questions and experiences
Share a question or a useful experience about this topic. Every contribution is checked before publication. Comments may be written in different languages.
Loading reader contributions…
Opening the form sets a necessary session cookie. No email address is required. Publication is subject to moderation and is not guaranteed. For deletion requests: Contact