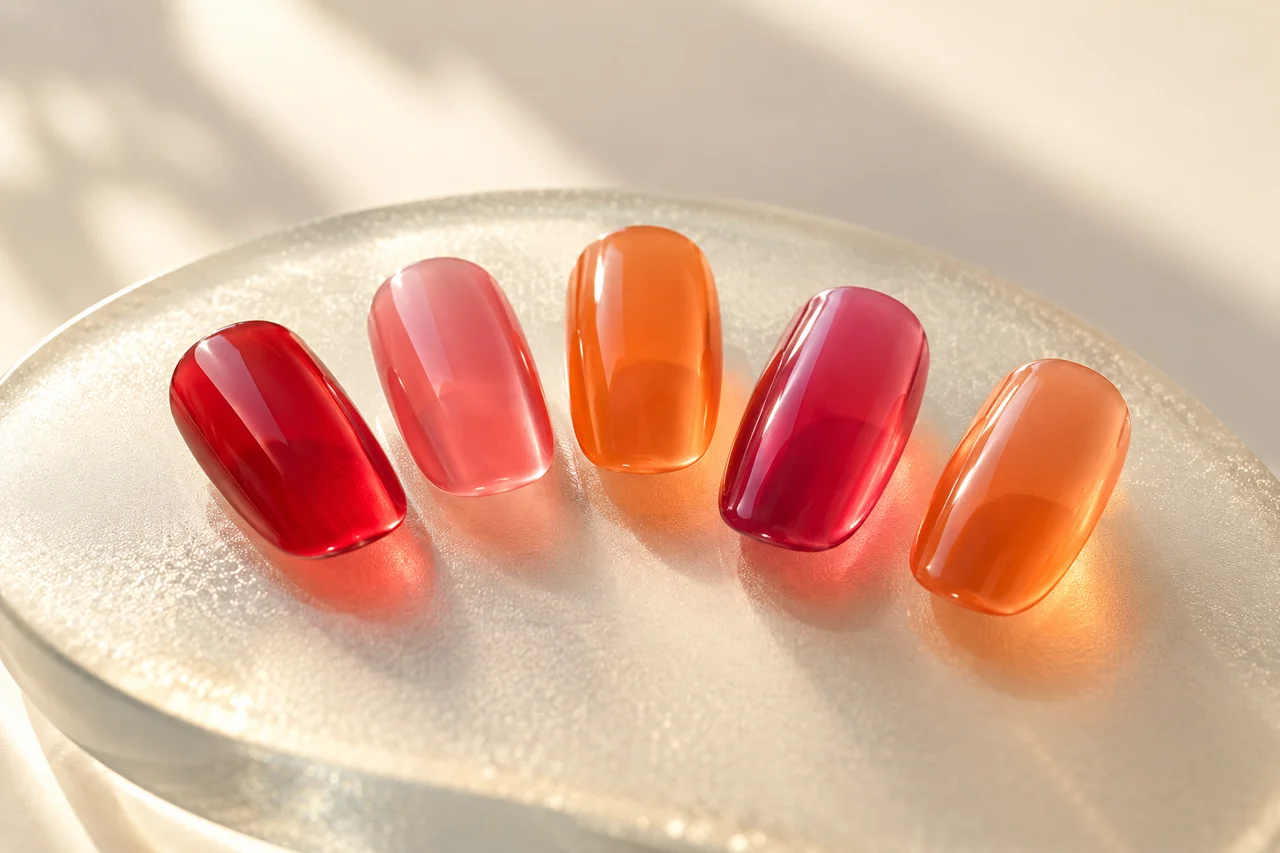
Here, jelly describes a translucent coloured look, closer to tinted glass than an opaque block. Transparent red is not simply a weaker version of opaque red; it serves a different design purpose.
Choose the amount of transparency
Look at your unpainted nails and decide whether the free edge should be clearly visible, faintly visible or mostly hidden. You may admire a photograph without wanting its transparency on your own hand. A precise brief such as “clearly translucent berry red with the natural edge visible” is more useful than the word jelly alone.
Separate hue from opacity
Compare two red samples with different coverage, checking whether one also leans orange or berry. Otherwise two features change at once. Sheer colour depends on its background, so inspect it in an everyday setting as well as against white or backlighting. A translucent effect on an artificial sample may look different over your natural nail.
Make the free edge part of the decision
A visible edge can belong to the look. If you dislike that contrast, adding layer after layer until the original idea disappears may not help. A milkier or more opaque ready-made version may better match your preference. You may also prefer a shorter shape, but natural boundaries are not flaws that must all be removed. Transparent styling does not require identical-looking natural nails.
Compare three degrees of coverage
Consider a faint tint, a strong but transparent colour and a milky intermediate. Ask whether the light tint is visible enough, whether you like the natural edge under stronger colour and whether you actually prefer the calmer coverage of the milky version. This does not specify how many layers any product needs. Gloss is another choice, often shown alongside transparency but not identical to it.
Choose a suitable finished formula
Look for a cosmetic polish with an intended use and coverage matching your goal. Jelly or sheer wording is a clue, not a replacement for directions. Do not mix systems, thinners or household products to create transparency. Use an appropriate ready-made colour or professional advice. At a salon, clarify whether ordinary polish, gel or another process is being offered.
Judge the sample and its place in your collection
Inspect a suitable sample in even daylight and your normal indoor light. Strong backlighting can exaggerate transparency compared with everyday viewing. Keep backgrounds consistent and note specifics, such as an edge more visible than desired or a colour too faint against the base. Illustrations show direction, not a guaranteed sample result.
A sheer polish can have its own role without replacing opaque shades. Record when you enjoy it and whether an existing colour already offers something similar. A brief covering hue, transparency, shine and length is more useful than collecting several nearly identical shades under different trend names.
Frequently asked questions
Are jelly nails automatically gel nails?
No. Here jelly describes the transparent colour effect. Clarify the product process, intended application and removal separately.
Why can the same sheer shade look different?
The background, lighting and application influence the result. Compare real samples in the same light and decide how much natural nail colour you want visible.
Should I dilute opaque polish with clear polish?
This guide does not recommend improvised mixing. Choose an appropriate ready-made product and follow its instructions so application remains understandable.
Questions and experiences
Share a question or a useful experience about this topic. Every contribution is checked before publication. Comments may be written in different languages.
Loading reader contributions…
Opening the form sets a necessary session cookie. No email address is required. Publication is subject to moderation and is not guaranteed. For deletion requests: Contact